Power Automate for desktop(PAD) インストール方法
Youtube動画解説
今回の内容をYoutubeで解説しました。
記事でご確認されたい方は以下から
まずは以下のサイトを開き、【無料トライアルを始める】をクリックします。
[blogcard url=”https://powerautomate.microsoft.com/ja-jp/desktop/”]
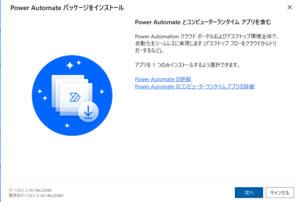
クリックすると以下の画面が開きます。
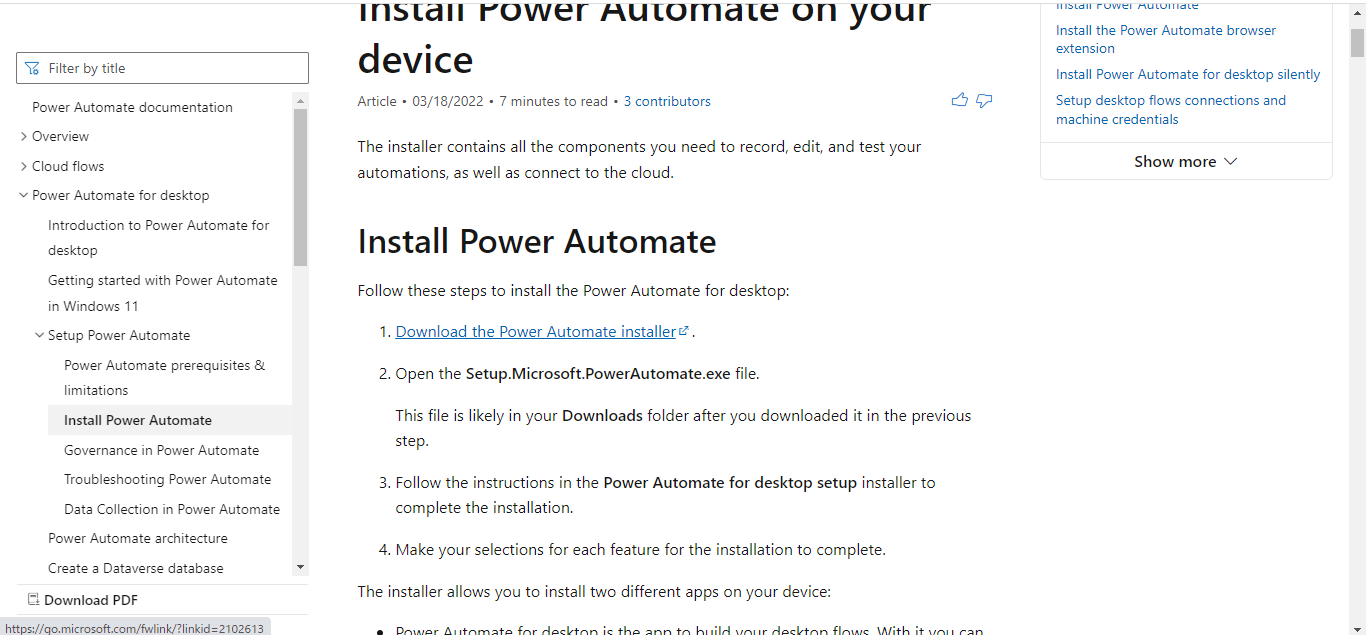
次にInstall Power Automateの下にある 1.【Download the Power Automate installer】をクリックしてインストーラーをダウンロードします。
日本語に変換したい方はページ左下の下(English)を選択し日本語に変えるとできます。
ダウンロードしたインストーラーを起動すると以下の画面が開きます。
【次へ】をクリック
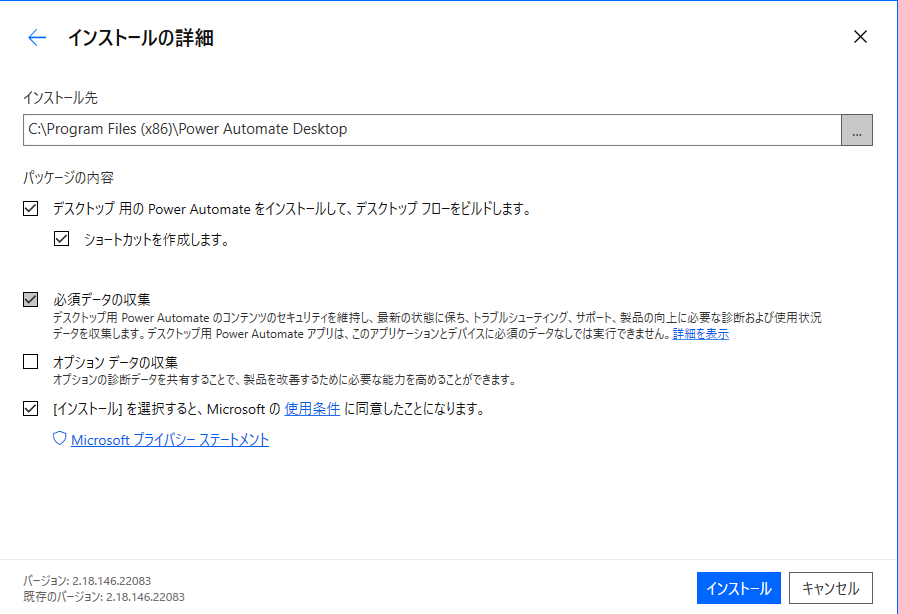
一番下の【[インストール]を選択すると、Microsoftの使用条件に同意したことになります。】のチェックボックスにチェックを入れて、右下【インストール】をクリックします。
拡張機能について
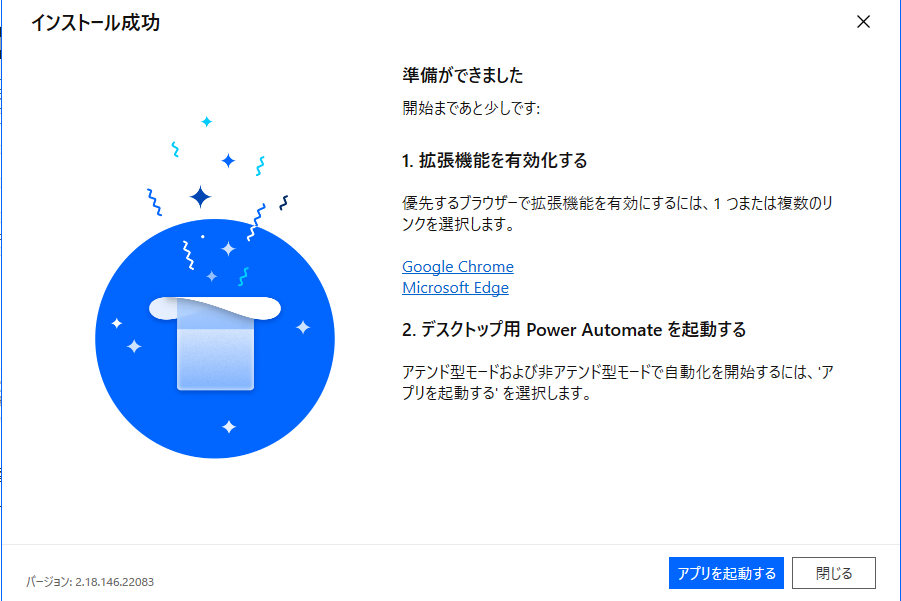
次に拡張機能を有効化する画面が開きます。
ご自身の使用されるブラウザーを選択します。
Google Chromeの場合
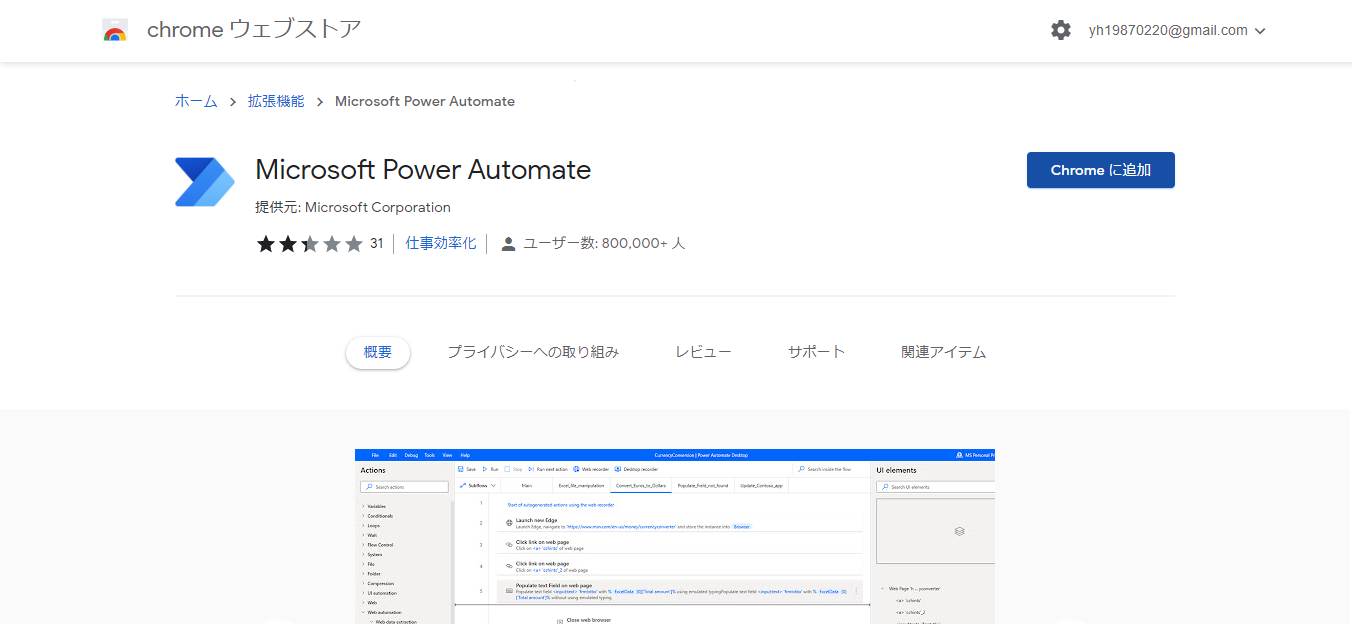
右側【Chromeに追加】をクリック
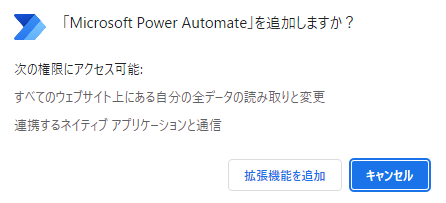
【拡張機能を追加】で追加します。
Microsoft Edgeの場合
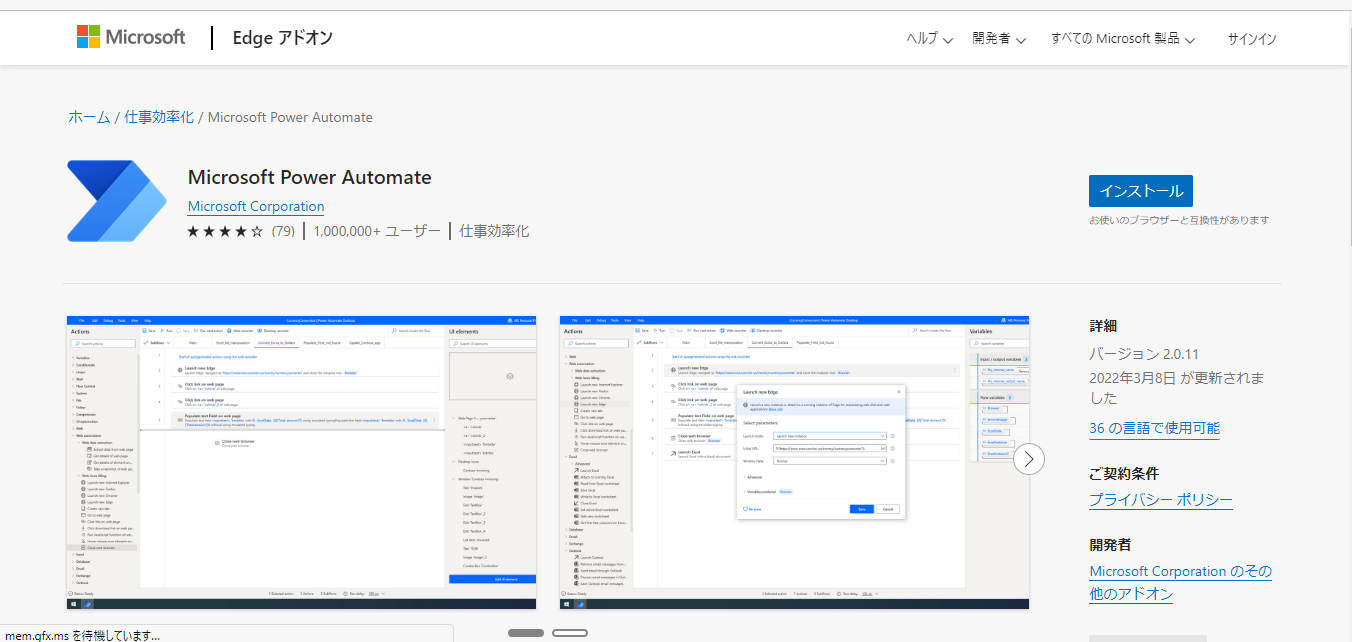
右側【インストール】をクリック
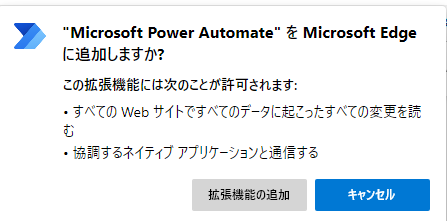
【拡張機能の追加】で追加します。
この拡張機能の追加を行うことで、Power Automate for desktopで各ブラウザーの操作を行うことが可能になります。
これでインストール作業は完了です。
起動・サインイン
では実際に立ち上げてみます。
【アプリを起動する】をクリックします。
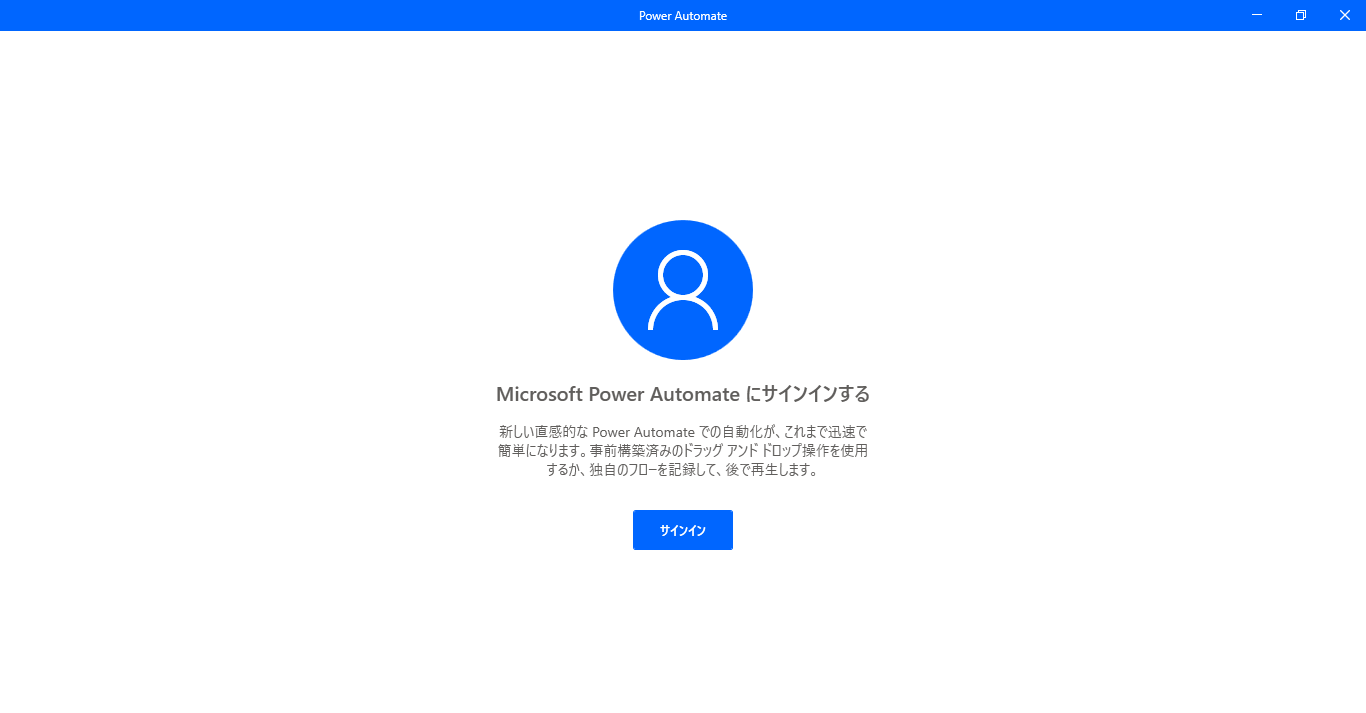
Microsoftアカウントでのサインインを求められます。
Microsoftアカウントを持っていない場合は以下のOutlook(無料メールサービス)などで無料でアカウント作成が行えますのでこちらで準備をしておきましょう。
[blogcard url=”https://outlook.live.com/owa/?auth=1″]
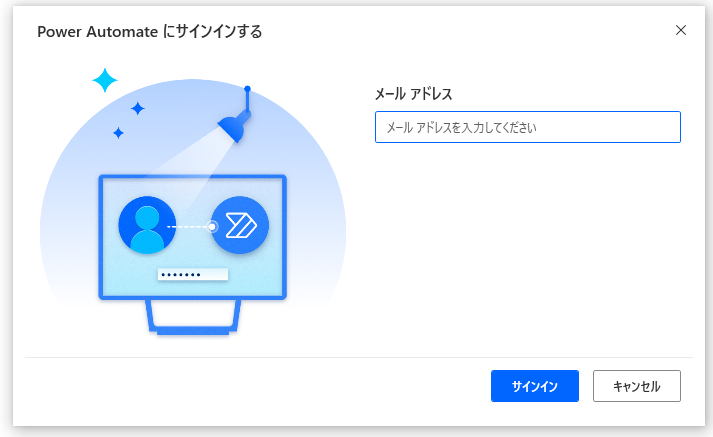
準備ができましたら、登録したメールアドレスを入力し【サインイン】をクリックします。
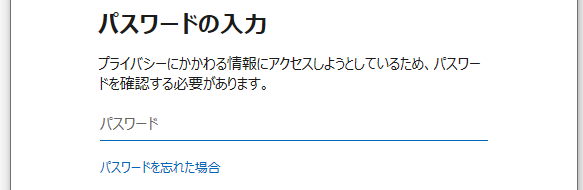
次にパスワードの入力が求められるのでそちらも入力し【サインイン】をクリックします。
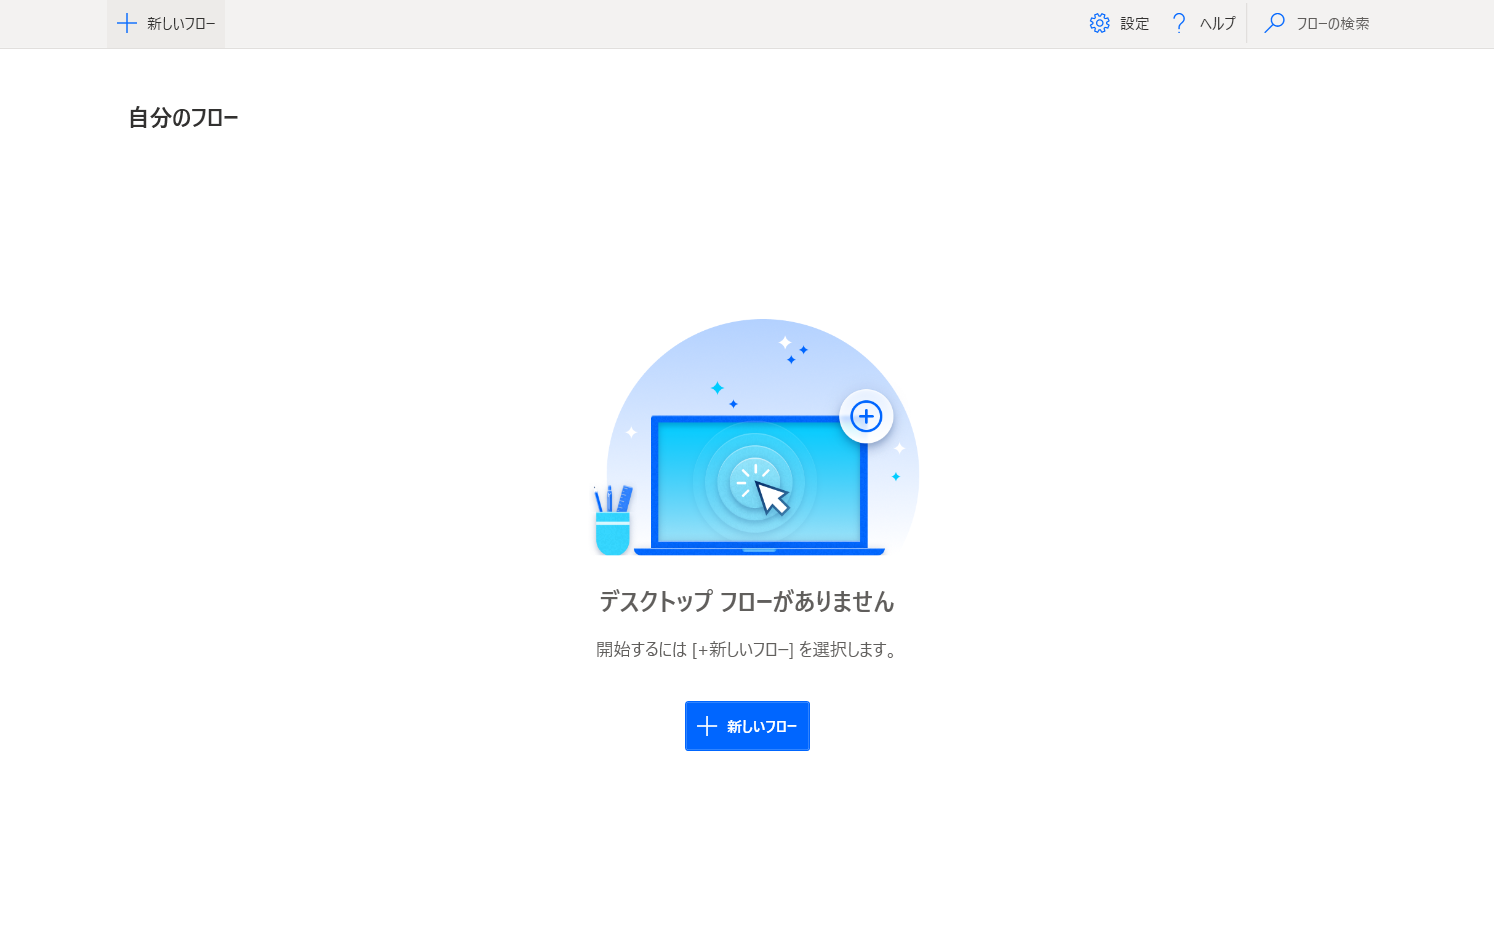
こちらのホーム画面が立ち上がってくれば、完了です。
今回はPower Automate for desktopのインストール方法について記載しました。
Power Automate for desktop オススメの学習はこちらから
Udemyで基礎から体系的に学習した方はこちら
おすすめの動画を記事にまとめてみました。

無料で学習すすめたいなら
Youtubeでの動画学習がおすすめです。
私自身のチャンネル動画になります。使えそうなものがあればぜひご活用ください。
また以下の記事で取り上げているマストさんのチャンネルも非常に勉強になります。